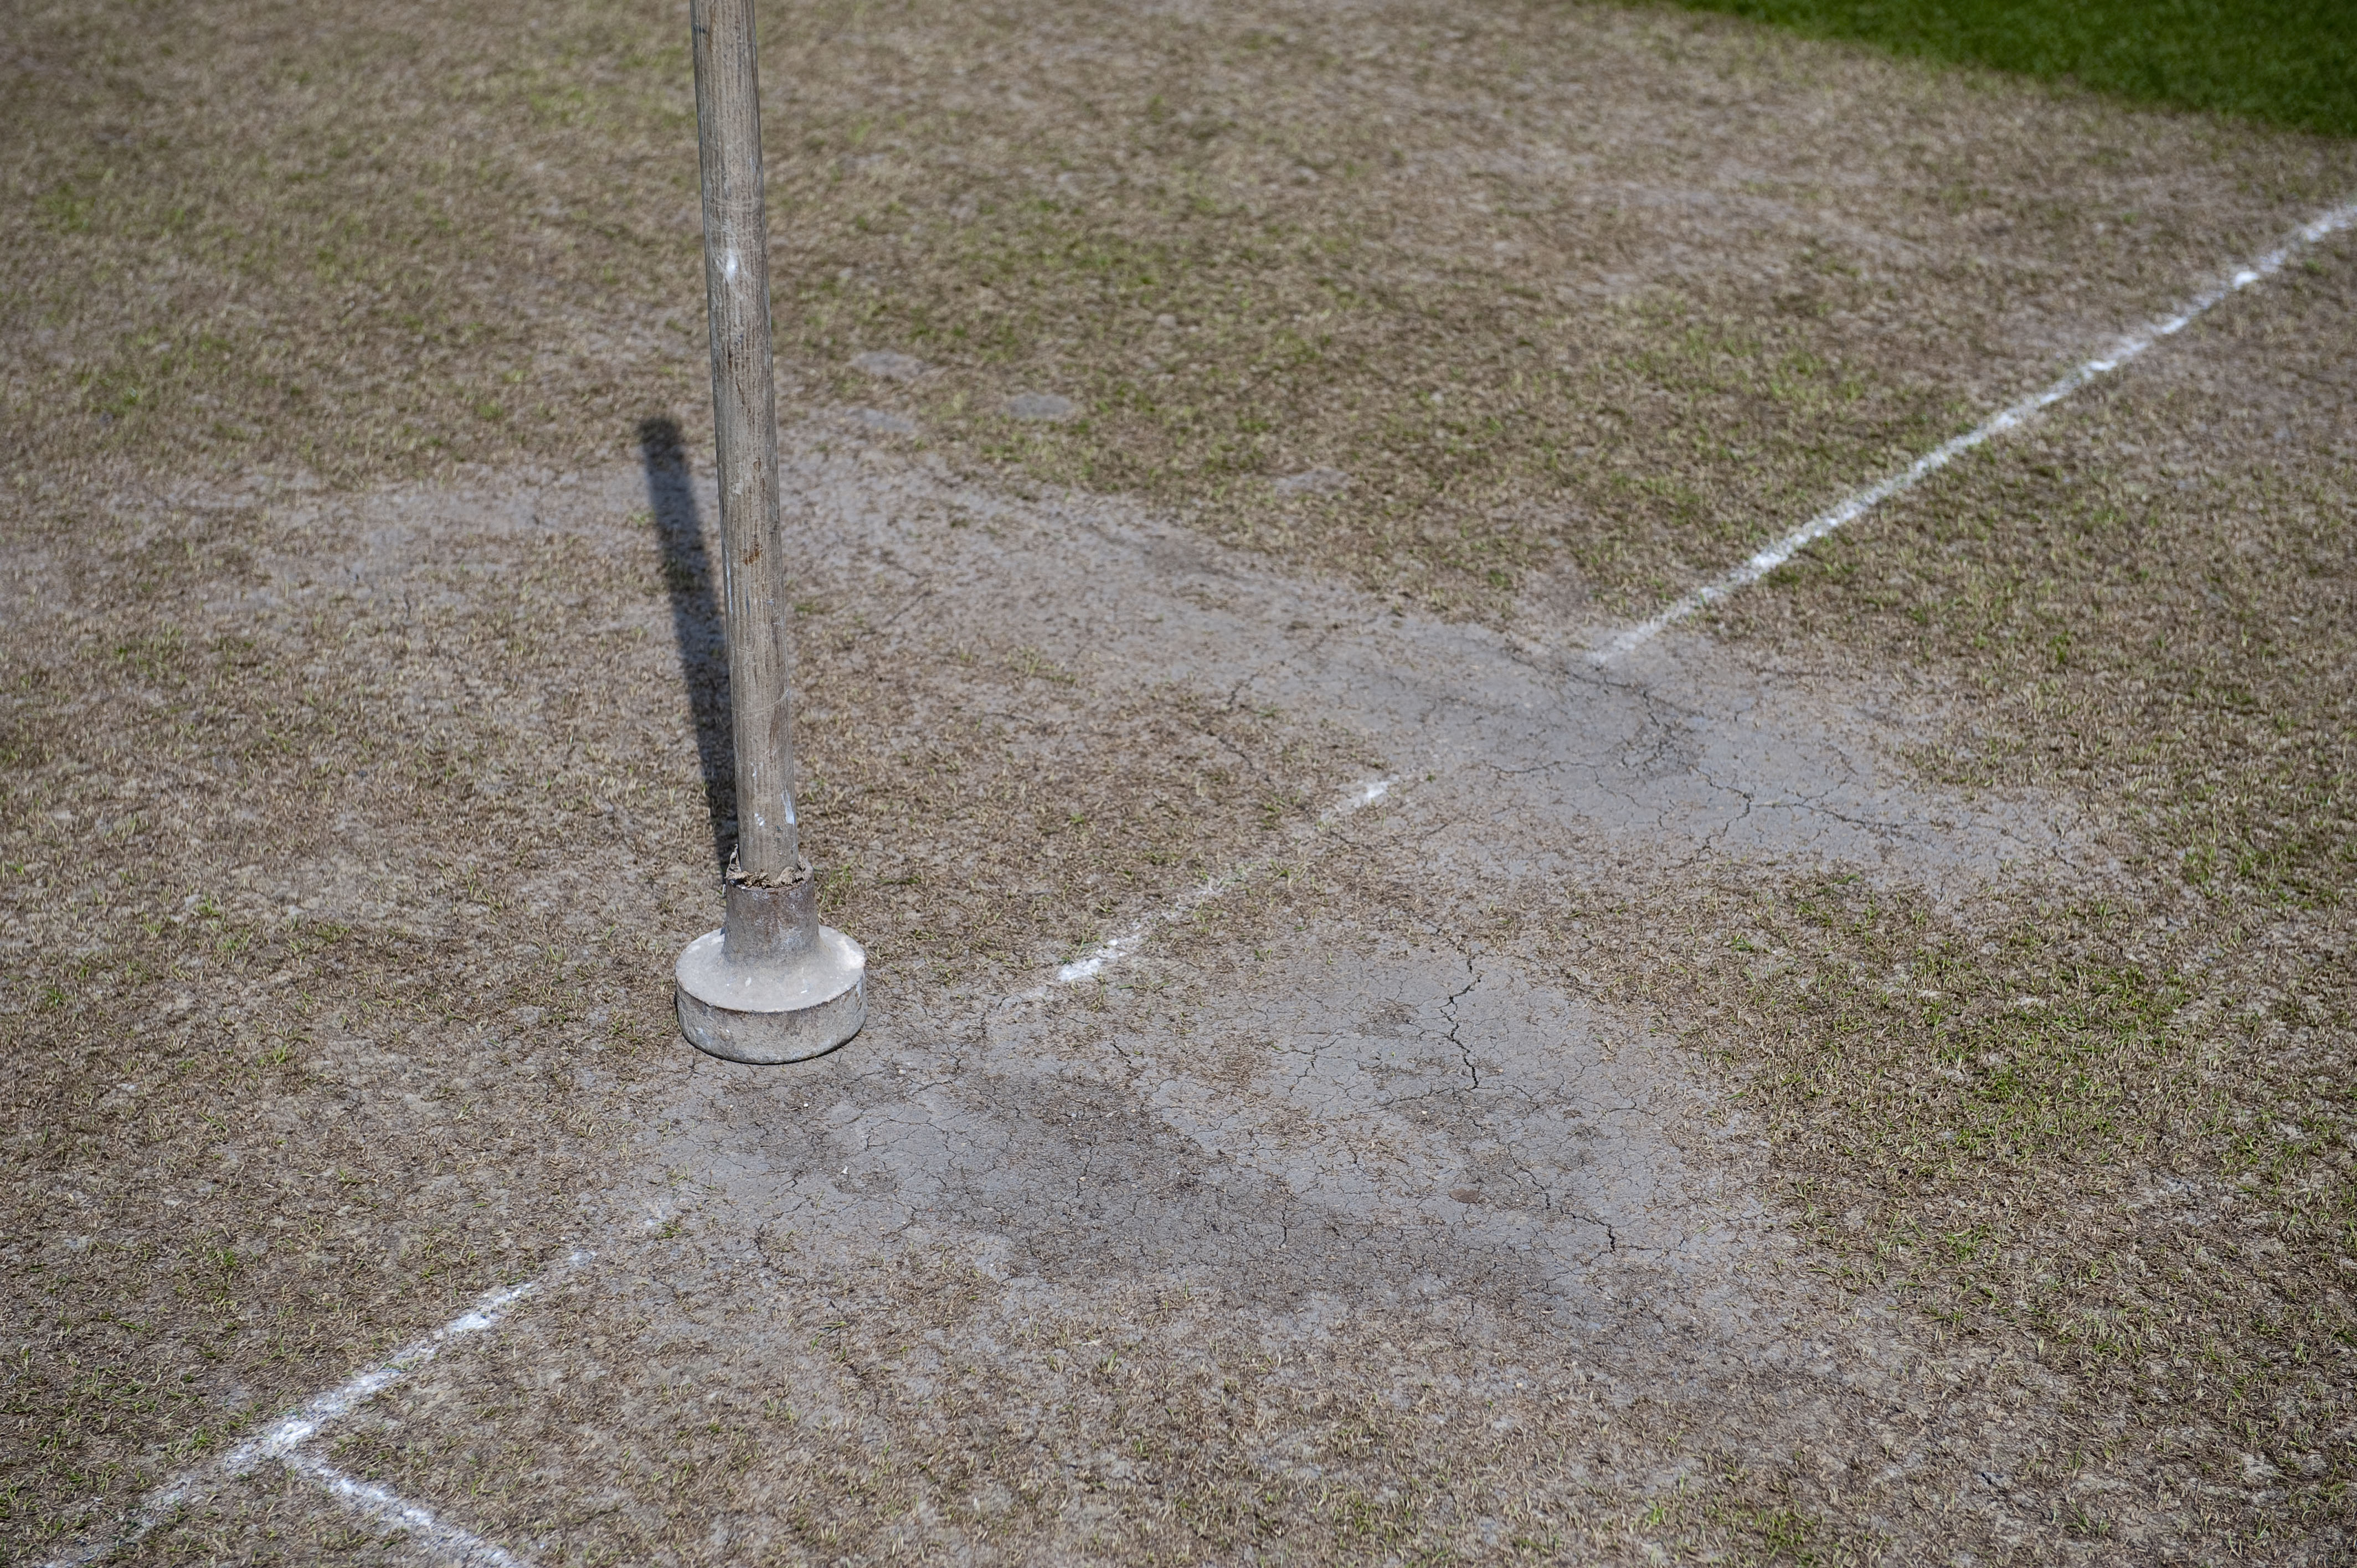
Make an assessment on whether or not the ends of the pitch need repairing. This is not always the case, especially if the game was shortened – it often depends on the bowlers, the soils in your pitch and the moisture content of the soil.
If you determine that a repair is required, the process is:
- Make a semi-moist mixture of fresh loam and water – do not get this mixture too wet because it will shrink and crack as it dries. It needs to be just moist enough to stick together but not so wet that it flows or can be deformed easily.
- Having swept out the depression, wet the base and roughen with your hand or tool to make a key for the new loam.
- Place loam to form a mirror image of the hole above ground (the mountain as deep as the valley being filled).
- Place a light coating of dry soil sweepings onto the surface to help stop it sticking to equipment in the next stage.
- Using your hand or foot, compress the soil and then using a tamper (e.g., an elephant’s foot tamper) – compact the soil until it is smooth. You may find it helps to cover the tamper with a thick plastic bag to help reduce adhesion between the soil and the tamper.
- The level should be a smooth plane level with the surrounding pitch.
- Repeat this process in all holes that need repair and at both ends of the pitch. Normally this is front foot (including for both right arm over and left arm over if necessary), batters guard marks and rear foot for heavier footed bowlers or bowlers that drag their rear foot in their delivery stride. It may also be necessary to repair the first landing of the back foot after the delivery stride but be careful if this is in the ‘restricted area’ of the pitch.


 Tweet
Tweet