Why do we roll cricket pitches?
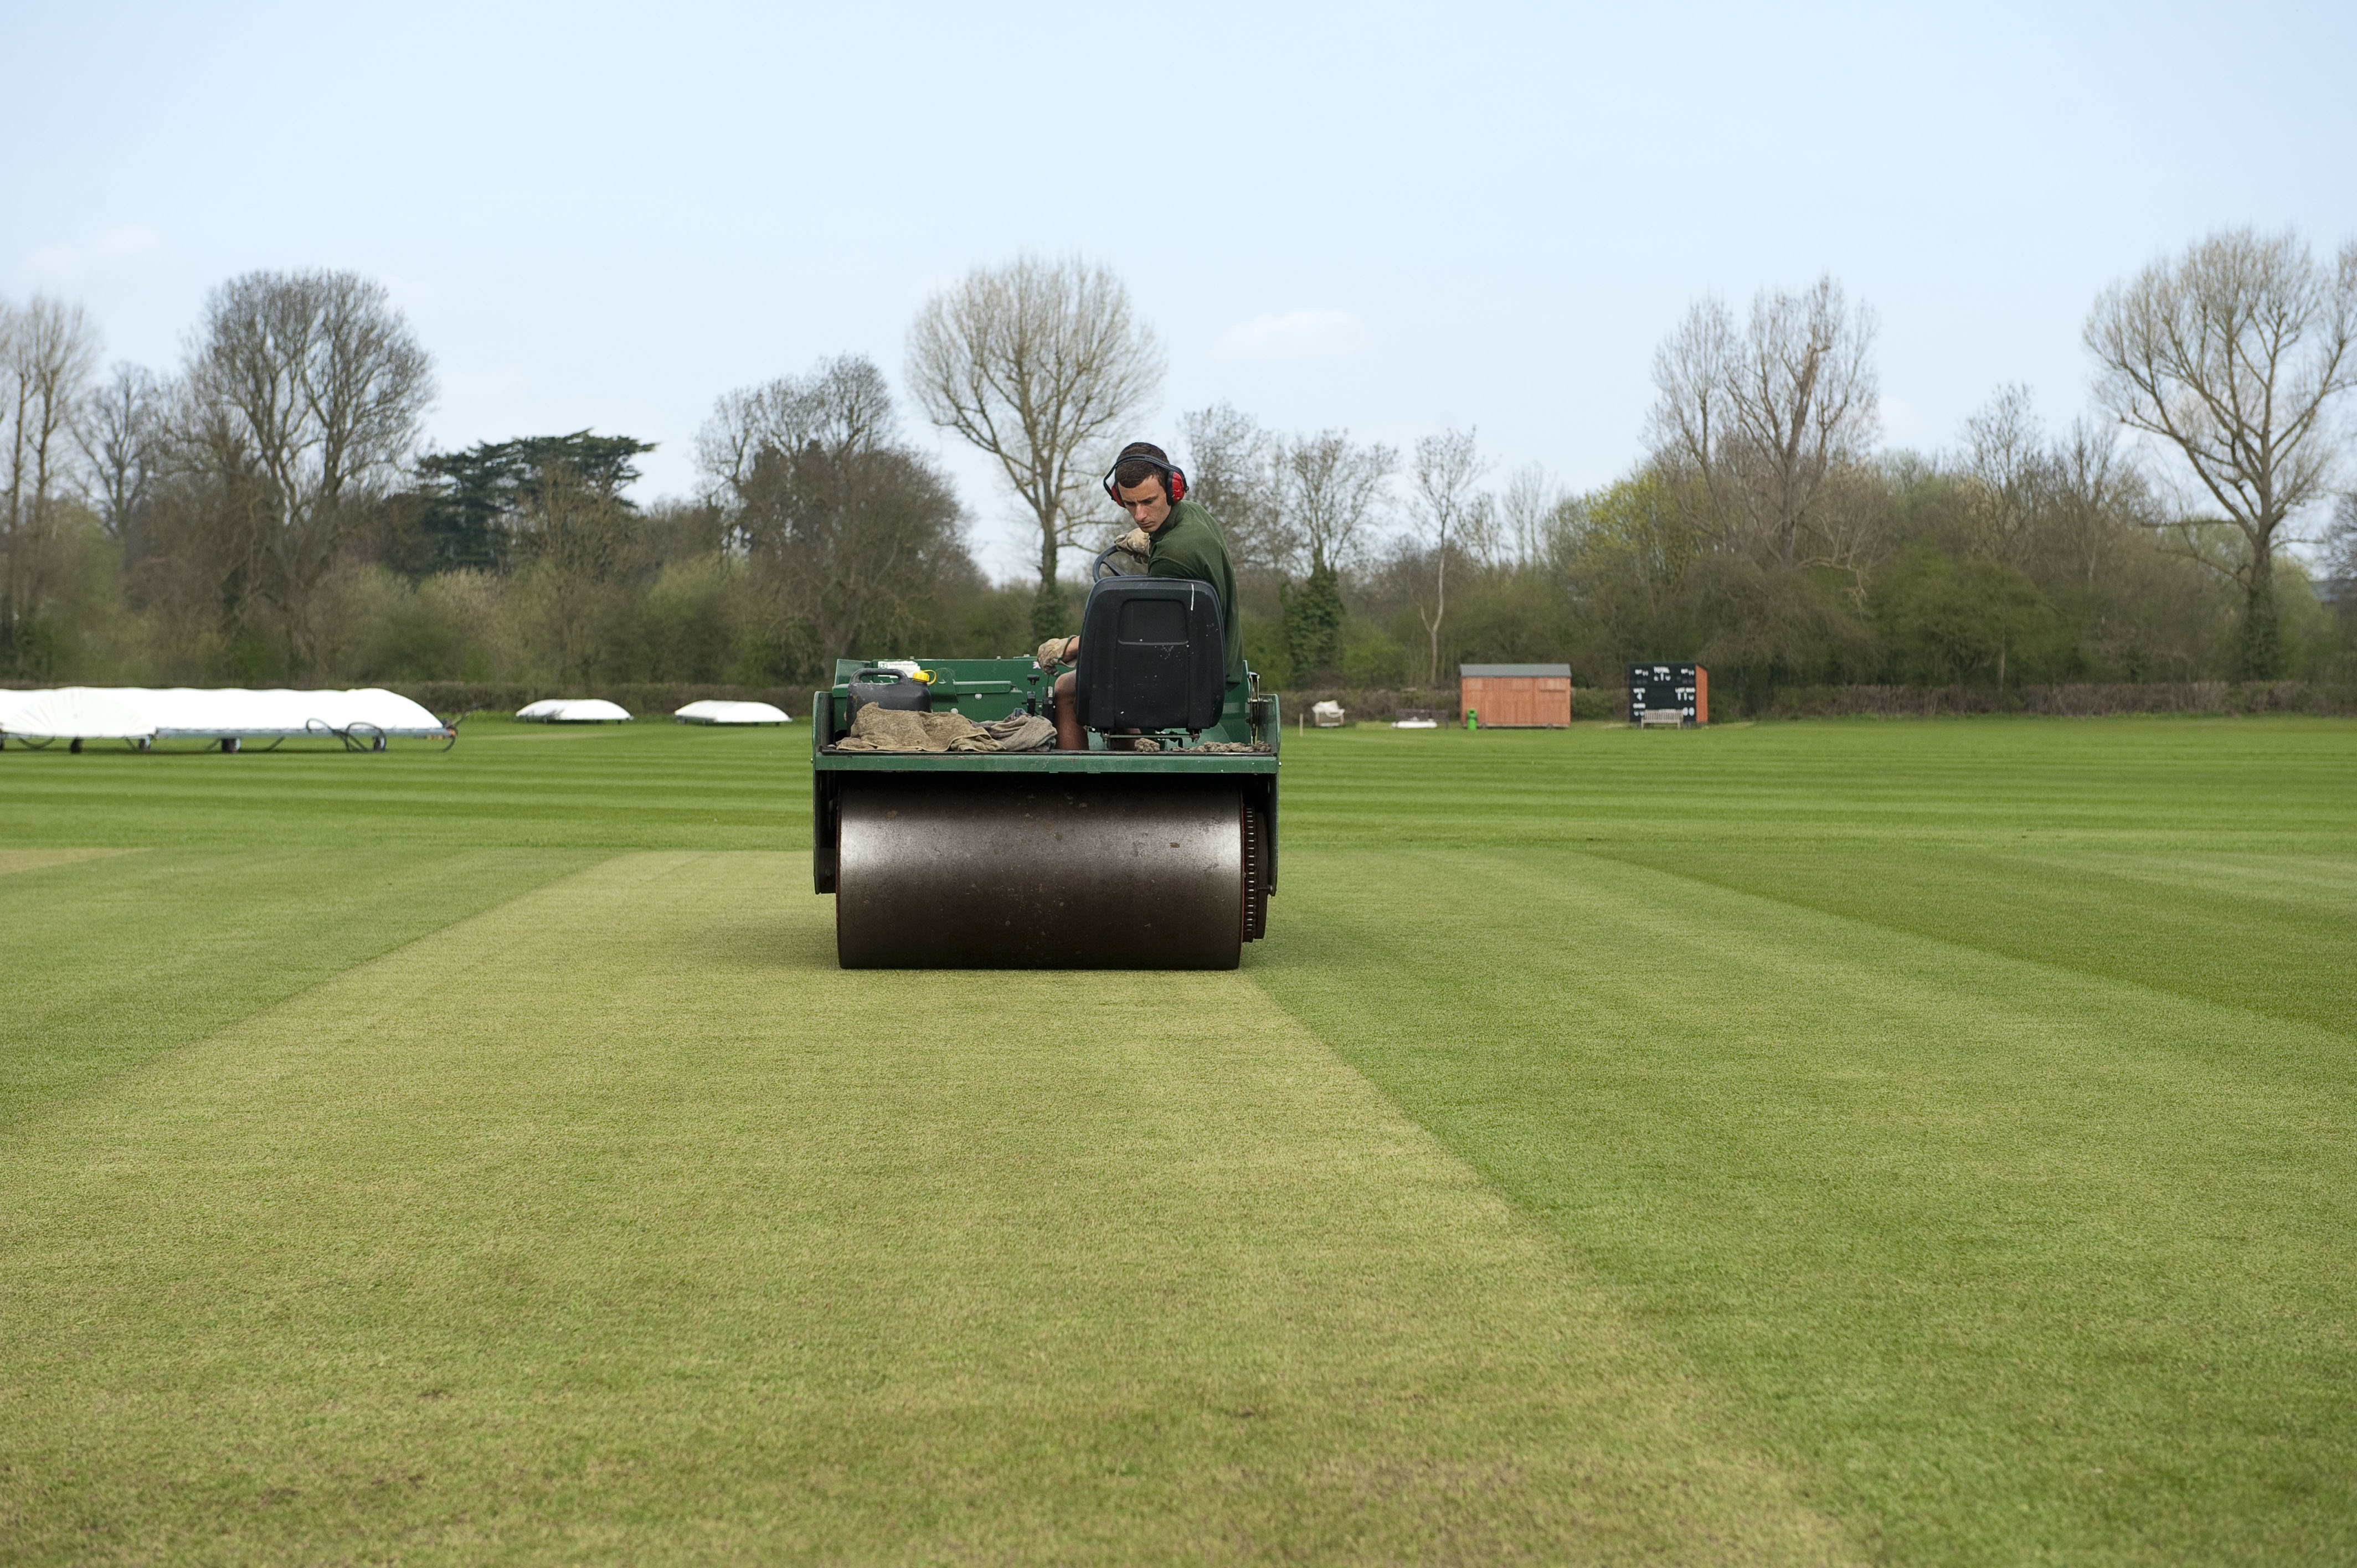
The roller is the iconic machine in cricket grounds management – along with the colour of the grass it is one of those things that everyone in cricket talks about and has an opinion on. Rollers have been used from the very beginnings of cricket to achieve three objectives:
- Make the pitch as smooth as possible – this helps to make ball bounce off the surface safe and predictable.
- Compact the soil and make it as hard as possible – this helps to provide good pace and bounce for the ball.
There are also two other by-products of rolling:
- Squeeze some of the moisture and colour out of the grass plant to reduce green colour and excessive seam.
- Drawing moisture to the surface of the soil to help with pitch drying.
Modern rollers tend to be motorised and not horse-drawn, but they are still being used for the same purposes and doing the same thing.
What do cricket rollers do to the soil?
In the right soil conditions, rollers will smooth the surface of the pitch and compact the soil. Compacting the soil pushes the soil particles closer together and squeezes air out of the profile. By doing this it increases the density of the soil, making it harder and increasing ball bounce. But that is only in the right soil conditions.
In the wrong soil conditions (too wet or too dry) the roller has very little effect on compaction and in extremely wet conditions you can make the surface less even and dangerously corrugated as it becomes weaker.
Highlighting the importance of rolling in the right soil conditions was the fundamental cornerstone of the ECB-funded rolling research Click here at Cranfield University in the mid-2000s. This research showed how getting the soil conditions right yields the best results from rolling. Get it wrong and you are at best wasting your time and could even be causing damage to your pitches.
This guidance and all the guidance on rolling in this Toolkit is based upon the principles of this research. Getting it right doesn’t require a scientist with lots of technical equipment – there are some simple tricks that we will share to help you make the most of your time on a roller!
The key things to know are:
- You start off rolling a moist soil to smooth it and then you move to rolling and drying the pitch to compact it. The soil needs to be moist at first so that it isn’t too strong to smooth out, then the focus shifts to compacting the soil and drying it between rolling sessions to make it denser and harder.
- Cricket soils shrink as they dry out because of the clay in the soils. This makes them denser, harder and stronger (even if you don’t use a roller). Rolling in the right way makes the most of this property of cricket soils. We are trying to roll in harmony with this drying process.
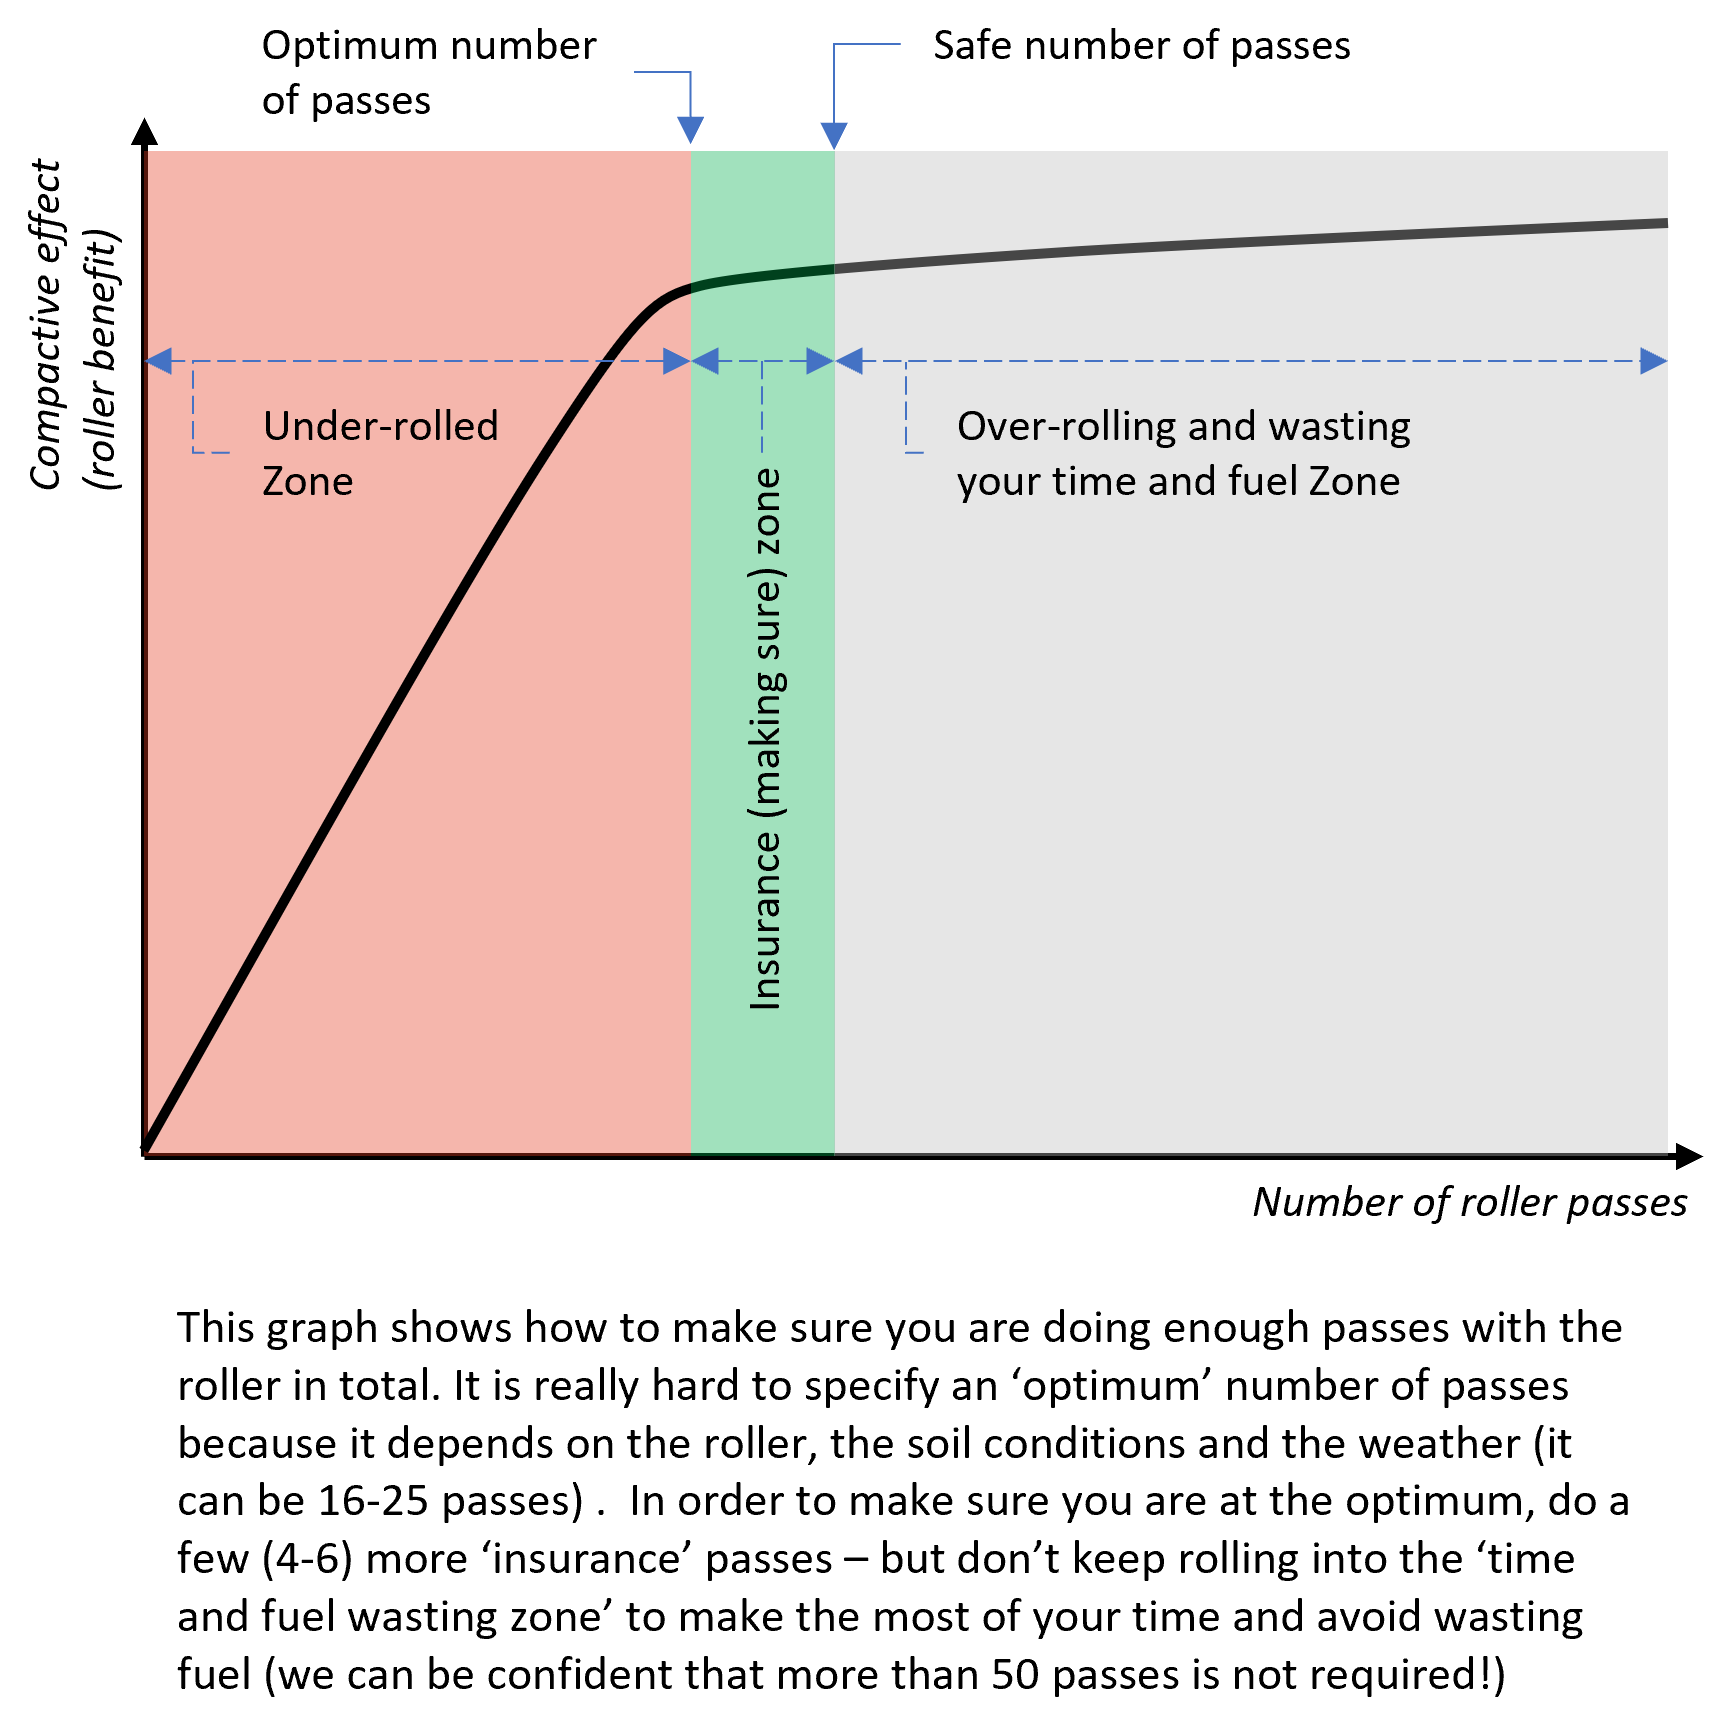
- You cannot compact a wet cricket soil – it needs to dry after each session of rolling for you to compact it more next time you roll. Every time we roll a soil it will become relatively wetter, even though we don’t add any water (we are rolling out the air which increases the amount of water relative to the mineral part of the soil). This is why doing rolling in batches and allowing the pitch to dry in between batches will yield the best results and doing lots of rolling up and down for hours on end will not.
Knowing this will help you manage your time when preparing pitches.
Choosing a roller
Many different machines of different weights, widths and ages are used in cricket. If you are looking for a new roller – look for a motorised tandem (twin drum) roller of 3 – 4 foot (0.9-1.2 m) width and 1.5 to 3 tonnes (it’s not all about weight, it’s the weight of the roller, the width and the diameter of the roller that determines the amount of force per unit area that a roller puts on the soil). Very heavy rollers (>3 t) tend to cause grass growth problems in the long term and can actually reduce pitch performance by over-compacting the soil.
Modern rollers will include features that make them easier to use including power assisted steering, hydrostatic transmission and electric start.
Think about how you are going to store your roller to keep it dry and secure. Make sure it fits in your shed – particularly if it is fitted with roll over protection. Think also about how you are going to store the fuel it needs.
Importance of rolling safely
Rollers are big and heavy and have the potential to cause entrapment or crushing injuries and even death. Unfortunately cricket grounds managers have been killed by their rollers. Knowing how to roll safely and always using the ‘Safe Stop’ procedure before getting off the roller. To find out more – see our Roller Safety video Click here
Pre-season rolling
Just as cricket soils shrink when they dry, they swell when they get wet. This disrupts surface levels and reduces compaction naturally over winter. This can be exacerbated further if it is a very cold winter and frost heave occurs.
For this reason, pre-season rolling is always worth doing if you have the time, but it should never be done in the wrong conditions.
If the ground is too wet, there is a risk of damaging surface levels by pushing the soil horizontally. If the weather is too wet, there is a risk of swelling continuing to affect levels. Finally if the weather is too cold, the plant will still be in its winter dormancy and not growing actively enough to resist the stress applied by the roller which will slow growth, reduce drying and could reduce disease resistance. This all means that you can be too early with pre-season rolling and because weather conditions vary from year to year, the date at which you should start pre-season rolling will vary. There are other factors to consider such as the date of your first use of the square (whether for matches or practice) and the time and resources you have available.
Typical start times are February in professional cricket that is starting in March but mid-late March in recreational cricket starting later in April. There is no fixed date – always check your soil conditions at your ground.
There is another reason why pre-season rolling is worth doing and that is that by rolling in different directions, your rolling is more effective at improving surface levels and smoothness. Pre-season is often the only time that you will have the square at a uniform moisture status and can roll across the direction of play without adversely affecting ball bounce.
Cranfield University’s rolling research did show that you can accelerate and catch up on pre-season rolling if it is a wet start to the year. If you are pushed for time try to get your cross rolling and diagonal rolling done before the season but you can continue in line once the season has started. As the soil dries push up through the weight on the roller more quickly – but never rush this on a very wet soil that is not drying.
For further advice on how to do Pre-Season Rolling Click here
Rolling in pitch preparation
Remember that rolling in pitch preparation is about smoothing and compaction. Advice on rolling in pitch preparation Click here
Knowing when to stop rolling is as important as knowing when to start. The answer depends on the moisture content of the pitch. If your pitch has dried well in good sunshine, then stop rolling the day before or even two days before to avoid over-drying the pitch. If you have struggled to dry the pitch during the week, try to roll early on match day this can help to get some extra drying by pulling water to the surface to evaporate (in good drying conditions) – be careful, if you do this too near to start of the game on a cold or overcast day your pitch may be too moist at the surface and damage from the impact of the ball.
If you are rolling to squeeze moisture and colour out of the leaf, then combine this with grooming with a stiff brush for more benefit.
You can under roll in pitch preparation – you will know that this is the case if you have unpredictable ball bounce or low bounce in dry conditions. Make sure you do enough rolling! For other causes of low ball bounce and how to manage it, see our guide to adjusting pitch performance Click here


 Tweet
Tweet